


Start with the real question: how much tissue loss can your workflow tolerate?
When tissue retention affects staining quality and the confidence of the final read, slide choice stops being a routine supply decision. In most labs, a standard slide is perfectly workable for many straightforward sections. A positive slide earns its place when the specimen, the staining method, or the processing conditions make tissue drop-off more likely. That is the practical comparison technical evaluators need to make: not which slide is “better” in theory, but which one gives enough adhesion for the sample in front of you without adding unnecessary cost or process friction.
If you are evaluating positive slide options against standard slides, use the checklist below the way experienced lab buyers do: match adhesion level to specimen risk, then test the slide under the exact workflow that tends to cause failures.
Check the specimen type before you compare prices
This is where many evaluations go wrong. A standard slide may look acceptable in a basic H&E run and then fail once you move to thinner sections, fatty tissue, friable biopsy material, decalcified samples, or protocols with aggressive heat and wash steps.
- For routine sections with stable morphology and mild staining conditions, standard slides may be sufficient.
- For small biopsies, frozen sections, cytology preparations, or tissues likely to lift during antigen retrieval, a positive slide is usually the safer evaluation baseline.
- If your lab handles multiple specimen categories, do not judge one slide type on one tissue alone. That almost always produces an overconfident result.
A simple internal rule helps: the harder the sample is to keep attached, the less useful a low-cost comparison becomes if it ignores failure risk.
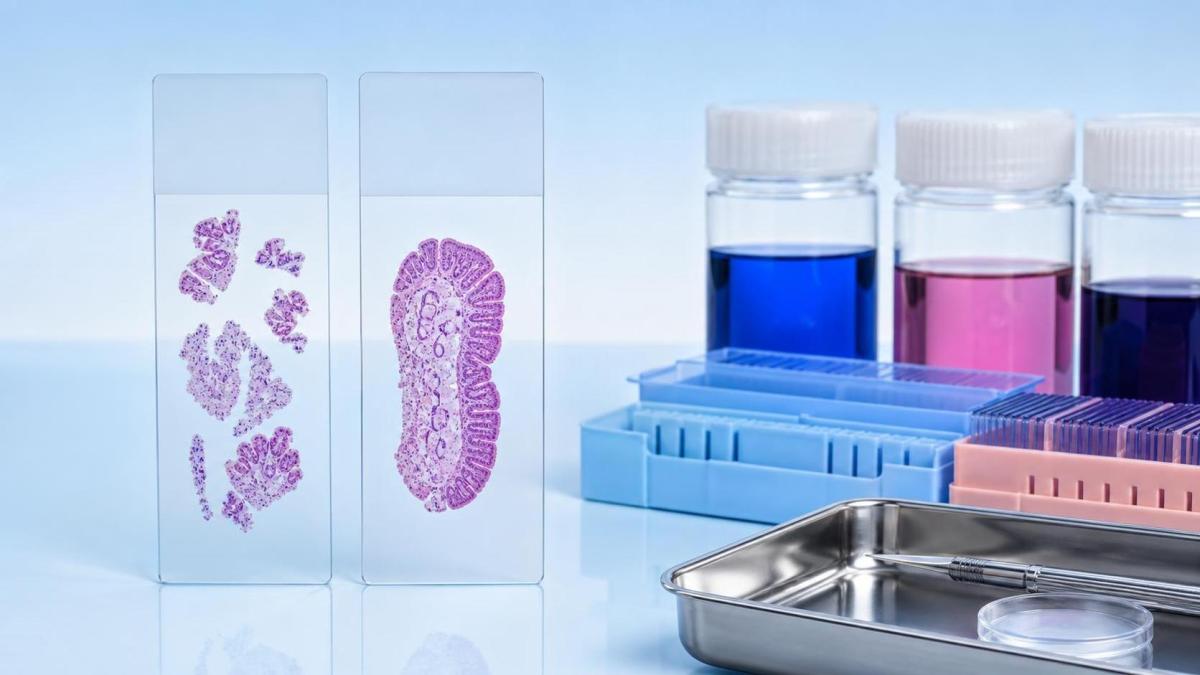
Understand what “better adhesion” needs to mean in your lab
Better adhesion is not just “the tissue stayed on the glass.” Technical teams should define the pass criteria in operational terms. Look for:
- No edge lifting after drying and baking
- Minimal tissue loss after deparaffinization and rehydration
- Stable attachment through antigen retrieval or repeated wash cycles
- No obvious interference with staining clarity or background interpretation
That last point matters. A slide that improves retention but introduces interpretive noise is not a clean upgrade. Adhesion has to support the whole assay, not just one checkpoint in the process.
Compare them under the steps that actually cause tissue drop-off
A bench comparison should be built around stress points, not convenience. In real workflows, tissue rarely detaches while sitting dry in storage. It tends to fail during heating, retrieval, washing, or repeated handling.
That means your trial should use the same section thickness, drying time, oven conditions, staining platform, and retrieval chemistry used in routine work. If you test a positive slide and a standard slide under softened conditions, the result may look tidy on paper and still tell you very little.
A useful comparison table often looks like this:
Look beyond adhesion coating and check the whole handling chain
A slide comparison can be distorted by poor section transfer, inconsistent water bath practice, weak drying discipline, or contamination from gloves and dust. In other words, not every lift-off problem is a slide problem.
Before concluding that a standard slide is inadequate, check whether the lab is holding section ribbons too long on the water surface, under-drying before staining, or using inconsistent bake conditions. Positive slides can compensate for some workflow variation, but they should not be used to hide avoidable process drift.
This is also the stage where adjacent consumables matter. For example, in liquid handling steps tied to staining prep or reagent transfer, even a small accessory such as Pipet Bulb should be chosen by fit-for-task criteria rather than habit. A natural rubber bulb with a 20 mL capacity, such as model ML4342-0008, is intended for liquid sampling, dispensing, and transfer with pipettes. It is not central to slide adhesion, but it reflects the same evaluation mindset: match the consumable to the exact handling step instead of generalizing from routine use.
Do not assume all positive slides behave the same way
This comes up often in technical reviews. A team decides that a positive slide is necessary, then treats every positively charged or adhesion-promoting surface as interchangeable. That is too loose for a proper evaluation.
What you need to compare is not just the label category, but the consistency of surface treatment, packaging condition, cleanliness, and compatibility with your staining workflow. One supplier’s positive slide may perform well in immunohistochemistry while another works better for routine retention but shows less stable behavior after repeated processing. The only defensible way to decide is side-by-side testing under your own protocol.
Evaluate failure cost, not unit cost alone
Technical evaluators already know this, but it is worth stating clearly because purchasing discussions often flatten the issue. A cheaper standard slide stops being cheaper when tissue loss leads to repeat sectioning, repeat staining, delayed reporting, or specimen exhaustion in tiny biopsies.
On the other hand, using a positive slide for every routine case can be an unnecessarily broad response, especially in high-volume workflows where standard slides perform well enough. The practical decision is usually selective deployment: reserve stronger adhesion for sample types and assays where failure has real downstream cost.
A short checklist for technical selection
- List the specimen categories that most often experience tissue lift, fold damage, or edge loss.
- Separate routine H&E use from immunohistochemistry, special stains, frozen work, or any protocol with heat or heavy washing.
- Run standard and positive slide trials using the same operators, section thickness, drying conditions, and staining program.
- Score not only whether tissue remains attached, but whether morphology and staining remain interpretable.
- Track repeat work caused by tissue loss. That number matters more than a simple piece-price comparison.
- Decide whether one slide can cover all use cases or whether a split strategy is more economical and technically sound.
So, which improves tissue adhesion better? In plain laboratory terms, the positive slide usually does, especially when samples are fragile or the staining process is demanding. But that does not automatically make it the right choice for every bench, every stain, or every budget line. The solid decision path is straightforward: identify where tissue loss actually happens, test both slide types under those conditions, and assign the positive slide where adhesion failure would cost more than the upgrade.
That is the point where slide selection becomes a technical control measure instead of a catalog preference.
Related Posts
Online Message
PROFESSIONAL CONSULTATION
If you are interested in our products and want to know more details, please leave a message here, we will reply you as soon as we can.